
How to Cull a Wedding (aka How I Cull My Weddings)
There are a lot of ways to cull a wedding. For those of you who have no idea what I am talking about, “culling” is the process of weeding through all of the photographs you take and picking out the best ones. Some people may think of it as “curating” a gallery. For me, culling itself is an art— picking out the best images that tell the entire story of a couple’s day takes a lot of time, attention, a keen eye, and is also a huge responsibility!
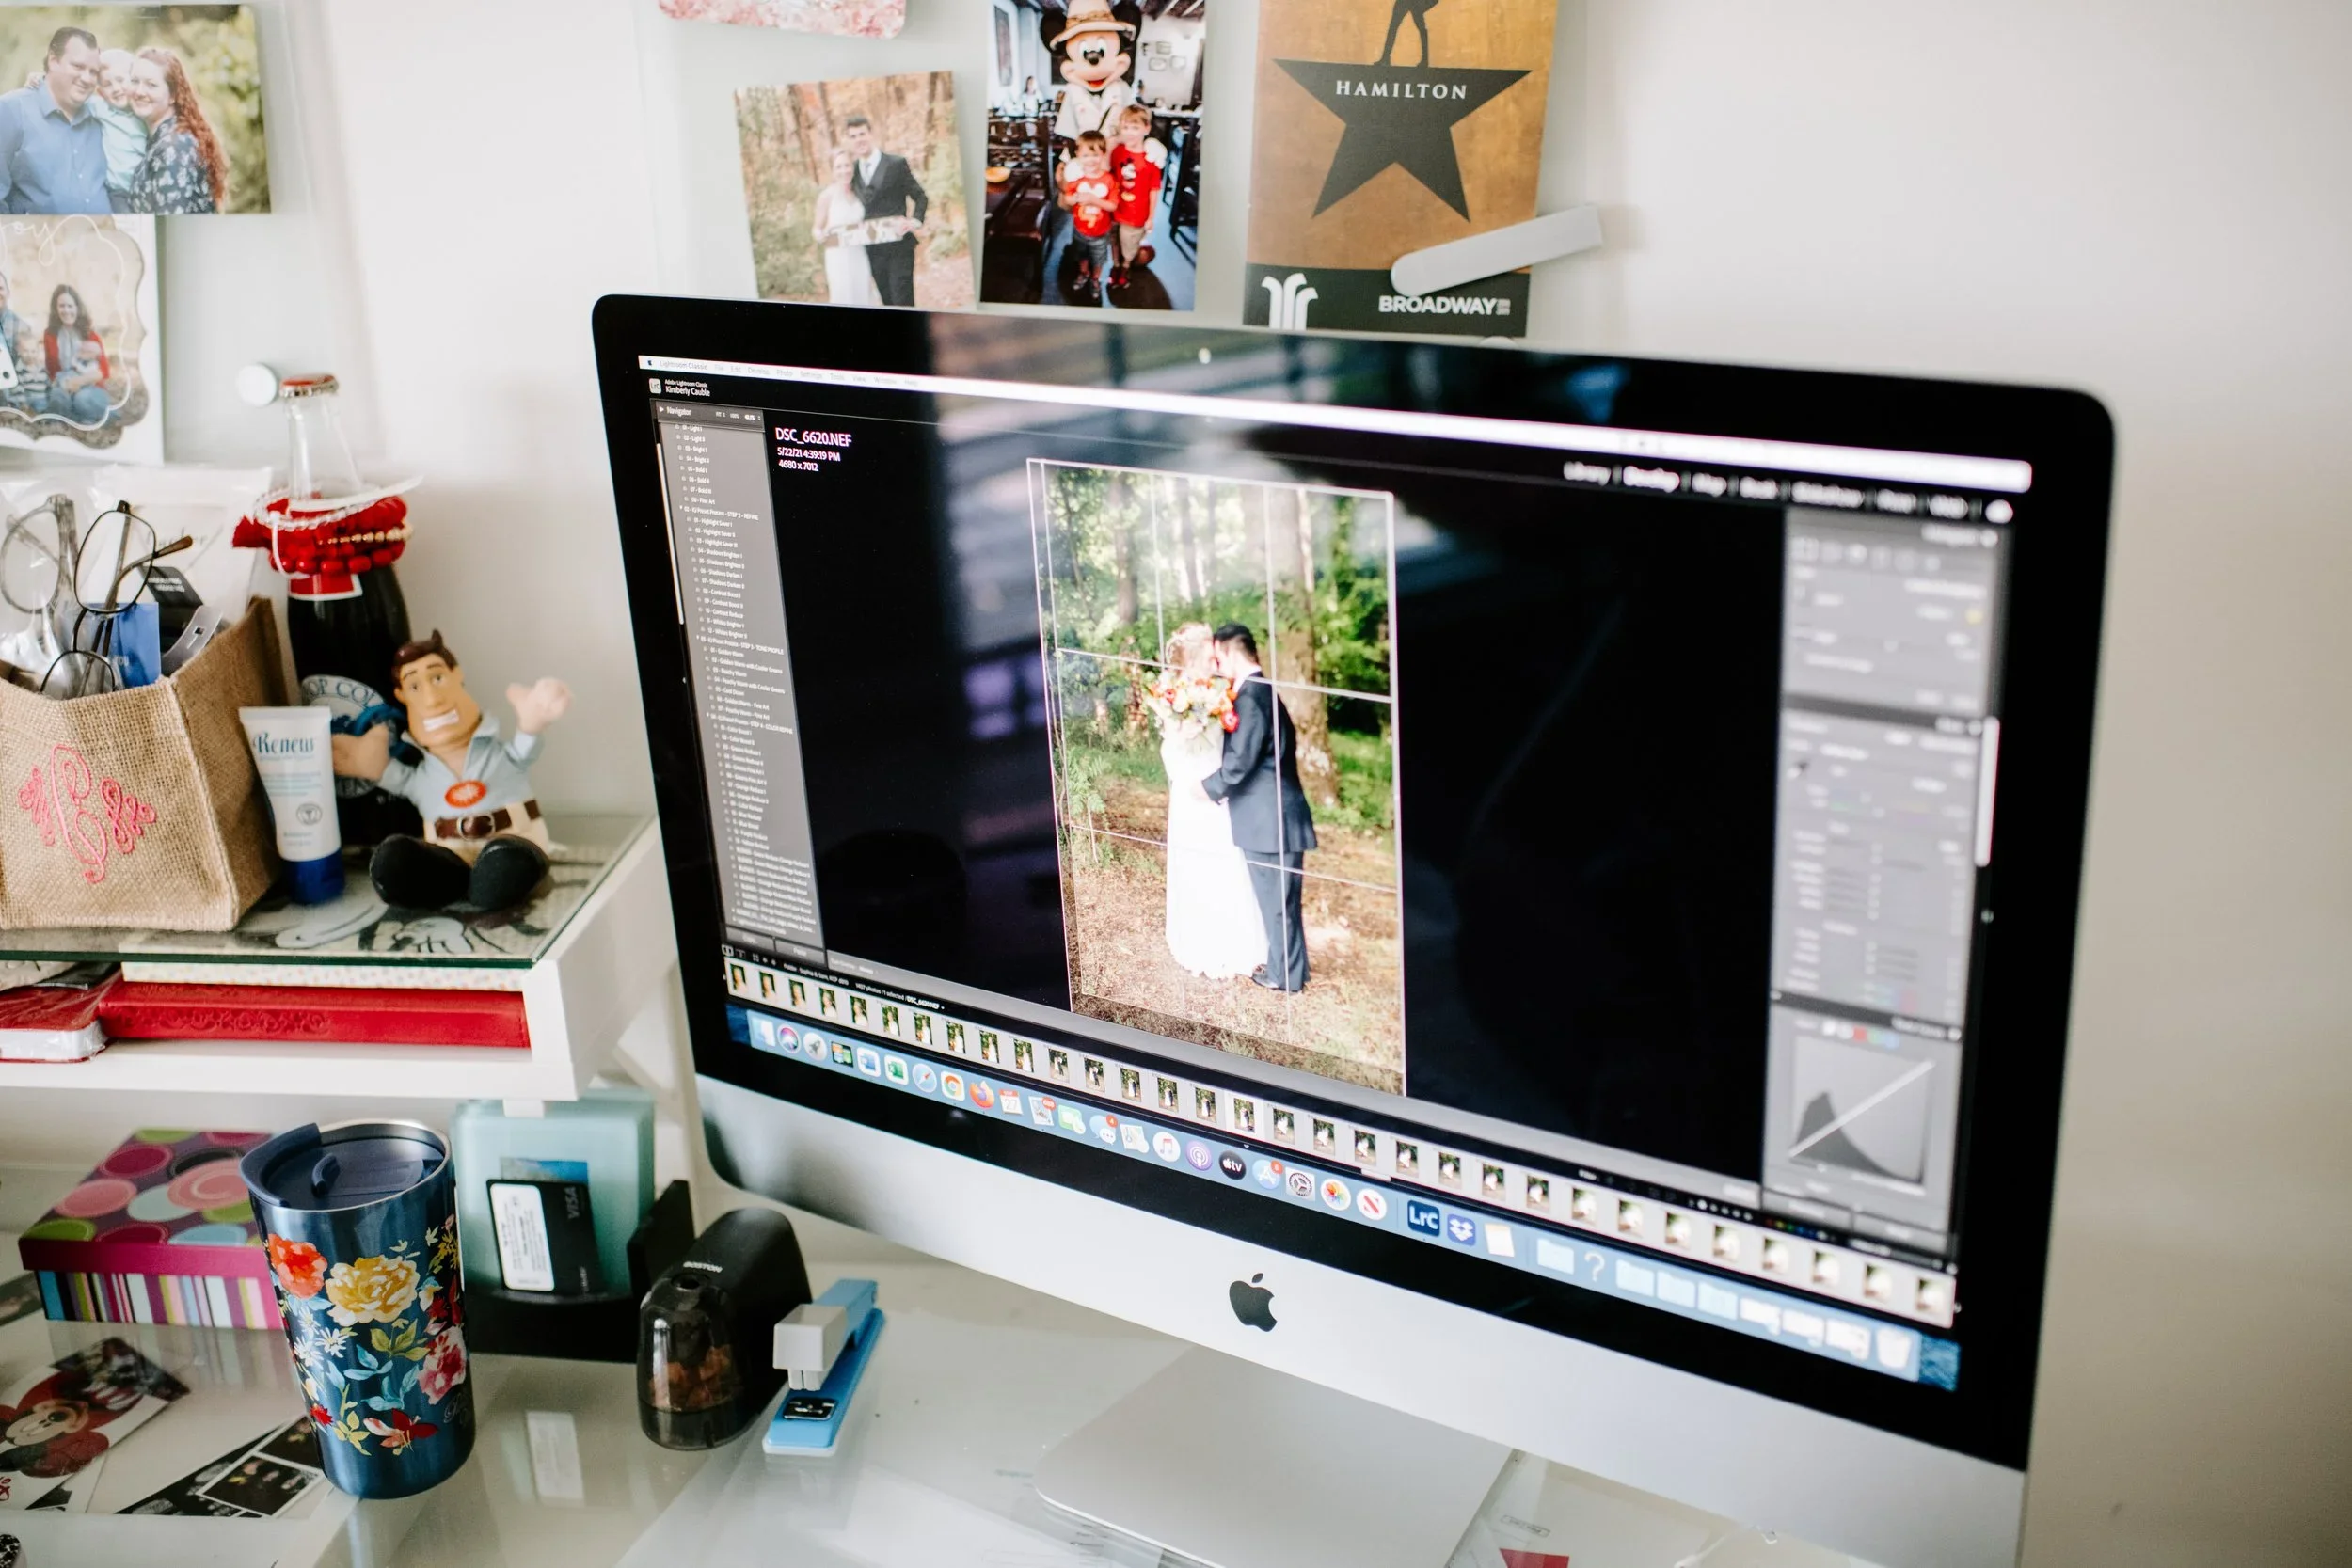
Many photographers have started using AI tools like Imagen, AfterShoot, or other photo-culling software to help them with the often tedious task of culling. Others use PhotoMechanic, which supposedly makes things faster. But for me, I don’t want to rush through the culling process. Yes, it’s time-consuming, but I am picking out the photos that help tell a visual story of someone’s wedding day…I don’t want to rush through that! There may be images that AI software doesn’t recognize as special. Maybe a photo is a little blurry, but shows the fun a group of friends were having dancing at the reception. Maybe it’s the tenth in a series of ten exit photos, but the expressions are just a little different and show the excitement of a bride and groom as they see all of their guests.
Every photographer has to figure out their own process for this step of wedding photography. I’ve been photographing weddings part-time for over 14 years and recently shot my 113th wedding, and it wasn’t until the last couple of years that I finally found my groove when culling and editing. I use Lightroom for culling and editing and occasionally send a photo into PhotoShop for more extensive retouching when needed..
Here is my system:
BACK UP | Dump all of the photos onto my computer from my memory cards into separate folders based on which camera/card they were shot with, and then back them up to a hard drive. I know, some photographers may think putting them on a computer first is not necessary, but for me, it’s one more way of backing up the raw files in case something goes wrong with the memory cards or hard drive, especially while I edit.
IMPORT | Import all folders into Lightroom. Make sure the folders are named so that they are easy to find.
PICK | Go through the images from each folder in Lightroom, one at a time, and flag my first round of “picks.”
TAG | Color code my picks from each folder as a different color.
CREATE COLLECTION | Move all of the picks into a collection to allow for reordering.
ADJUST CAPTURE TIME | Adjust the capture time for each set of images so that they are in the right time order (this is so much easier if you sync your cameras!) If you don’t sync your cameras beforehand, it’s easy to find two photos taken at approximately the same time and then adjust the capture time in the Library Module to all of the photos in that folder. For more details on how to do this, check out my YouTube tutorial! (It is much easier to show you rather than type out all the directions!)
CURATE GALLERY | Rearrange the photos into the right order based on moments (details, getting ready—girls and guys, ceremony, post ceremony, family/wedding party formals, cocktail hour, reception, exit) and remove any shots that are too similar.
FLAG | Go back through the images in Library mode from each memory card (using the color selection tool) and flag 20-25 of the best images that represent different times of the day (and different lighting scenarios). This is going to help me create a sneak peek and edit the entire gallery more consistently.
EDIT SNEAK PEEK | Edit all flagged images consistently. This includes white balance, straightening, cropping, and other tweaks to improve the images.
SHARE SNEAK PEEK | Export the flagged photos and share a sneak peek with the couple! I try to have this done within 24 hours of the wedding.
EDIT GALLERY | Continue editing the gallery by syncing photos taken with the same camera(s) in similar lighting situations with each other. I have found that by separating and looking at the images based on their color-code, it makes this process a lot smoother.
FINE TUNE GALLERY | Fine-tune the gallery in Develop mode by looking at each image, one at a time, straightening, cropping, and retouching/removing distractions if needed. Continue removing any shots that are too similar or do not add to the story.
CHECK FOR CONSISTENCY | Go back through the gallery one more time in Library mode to check for consistency!
EXPORT | Export gallery to high res jpgs.
DELIVER | Deliver to clients! For weddings, I deliver on a custom USB. For my other sessions, I send my clients a download link via my online gallery.
Now I know those last few steps are more about editing than culling, but if you’re like me, you’re still culling/curating as you edit, all the way until the gallery is ready to export.
So there it is, folks, my thorough yet tedious culling process. But I’d rather be meticulous than miss an important moment! If you’re a photographer, what’s your process? If you have any suggestions or tips that would make this process easier, please share in the comments below!
Kimberly Cauble…
…is a wedding & portrait photographer and educator in the Charlotte, NC area who has been photographing families, seniors, and weddings since 2012. She has photographed over 110 weddings and loves people, the art of photography, and sharing what she has learned with others!
For inquiries, please click here!
For more wedding planning/photography tips, click here!
For more photography education blog posts, click here!
For Kimberly’s YouTube Channel, dedicated to photography education, click here!